Heather's latest book!
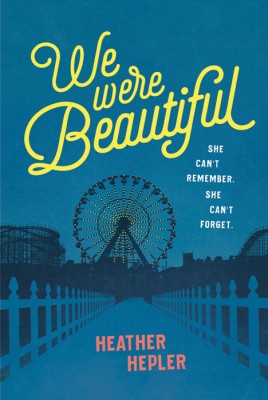
It's been a year since fifteen-year-old Mia's car crash. Her sister is dead and her family has dissolved. Her father decides to send her to New York City to live with a grandmother she's never met. All Mia wants to do is hide from the world, but she finds she's not the only one with a painful past.. more »

Fri, Mar 1st, 2024
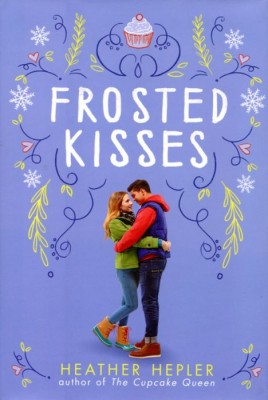
How to survive in winter
Sat, Feb 17th, 2024
We're all glad...
Tue, Feb 13th, 2024
The Best Books for When You're Feeling Your Worst
Book recommendations


© Copyright Heather Hepler. Website by Barnstormer Design.